Trying to find dried cherries in Australia during Winter is hard. Very hard. Absolutely nobody sells them! I looked high and low, the big names didn’t sell them and even the little gourmet providores didn’t have them. I finally had the issue explained to me by a local nutstand; it’s not Christmas. Dried cherries really only boom during Fruitcake Season, and the cherry industry doesn’t make enough money during the rest of the year to keep them as a mainstream item. Also, they roll them in sugar and they don’t keep for long. Huh. Well, I had no other option then but to try and make my own!
But you’re probably asking yourself, why is Mandi, a self-confessed dried fruit hater and anti-connoisseur of the sultana, making dried cherries? Well, remember those Chocolate Nut Brownie Energy Bars I posted a little while ago? Remember how good they were? Now can you imagine a Cherry Ripe style one? Need I say more?
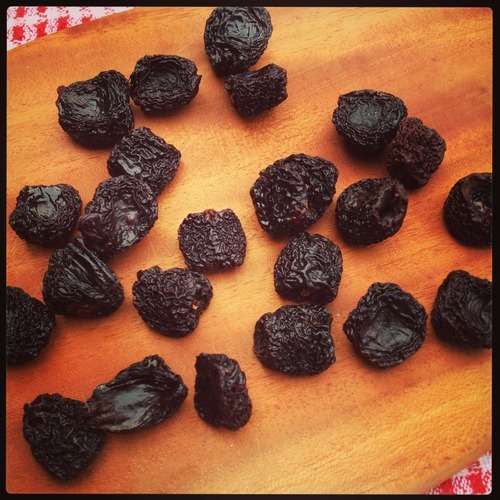
Making your own dried fruit is pretty easy, as it turns out. I found a great tutorial on Hello Delicious!, and I’m going to use the same method for other fruits. You don’t need one of those fancy basket things, just an oven tray, some baking paper and some low and slow heat for a lot of time. Cherries actually take 12 hours to dry out! I did mine overnight, but if you’re not keen on having the oven on whilst you sleep you can do it during the day. Another thing to remember is that you will get ¼ of your original yield. For instance, because I was only doing a test run, I dried 350g of fresh very, very ripe cherries (pre-pitted) and they became 80g of dried cherries. So if you’re after a certain amount of dried fruit, quadruple it to get the amount of fresh fruit required.
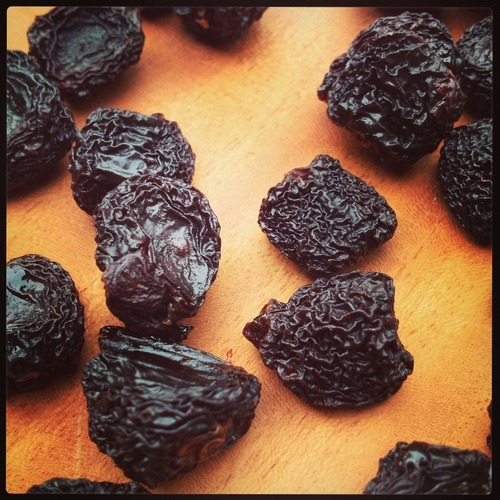
The dried cherries, funnily enough, actually tasted like cherries. Amazing, I know. Who would have thought? But in all honesty, I was surprised at how natural they tasted. Sultanas and raisins have a funny taste, they taste nothing like grapes though I believe that partly to be the work of the sulphides used in the curing process. I may have to make my own sultanas and find out!
Oven Dried Cherries
Time: 30 min-1 hour Preparation (depending on quantity of cherries), 12 hours Drying, 5 days curing
- Cherries, very ripe
- Lemon juice
- Water
Preheat your oven to 70 degrees Celcius, and line your baking trays with baking paper.
Wash cherries, then remove stems and stones and place in a mixing bowl. Cover fruit with a small amount of lemon juice and water for 10 minutes, then drain and dry the fruit with a clean tea towel or paper towel.
Arrange fruit in a single layer on the baking trays, and do not let the pieces touch. Place trays in oven, and if there is more than 1 tray, rotate them every 2-3 hours if possible.
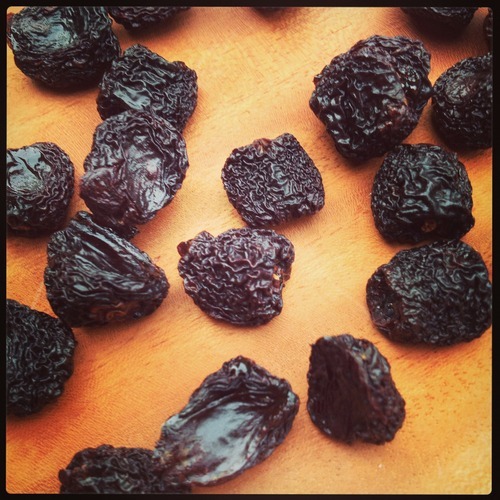
When the fruit is ‘cooked’, remove it from the oven and place in a glass or plastic container to ‘cure’. Leave the container open for 4-5 days so that any moisture left from the drying process can evaporate. Shake the container every day or so to move the fruit around. The containers can be sealed after 5 days.
Notes: The lemon juice is there to prevent discolouration, the amount you put it the water is up to you. I put in approximately 1tsp of bottled lemon juice to a quantity of cherries that weighed 350g pre-pitted.
Adapted from Hello Delicious!

