Ever since I’ve become a mother I’ve gained a new food addiction; muesli bars. They’re easy, compact, and you can eat it with one hand whilst feeding a baby, pushing a pram, well you can see where I’m going. I always liked them before, but I have a new appreciation for these pocket morsels. It can be so hard to eat properly during the day when all Baby wants to do is cling to you, lunch is normally a cupboard scrounge during naps and to be honest, I relied very heavily on my muesli bars to get me through the day. I’ve gotten better, but Miss G has had a cold for the past 4 weeks that just won’t shake and she got 2 new teeth, so she’s been a sooky little bubba and I’ve fallen back into my old habits a little bit.
I’ve tried to make homemade muesli bars before, but they’ve just never worked. The ones with the condensed milk just taste like condensed milk and oats, the honey based ones try to break your teeth (and I don’t like honey. I know, I’m weird, but you knew that from the last post), or the mixture just doesn’t clump together properly and it all falls apart. I’ve stopped trying to make them, I figure I’m cursed by the Muesli Gods.
I was first introduced to Lärabars through an episode of ‘Unwrapped’ before I was even pregnant. I was mesmerised by the idea of a muesli bar with no muesli; just dried fruit, nuts, spices and chocolate. I searched all over Singapore just looking for 1 bar to try, but no luck. I could buy a box over the Internet, but they were quite exxy and I didn’t want to do that in case i didn’t like them. Eventually I forgot all about them until I found a recipe for them on Pinterest last week and I became intrigued all over again.
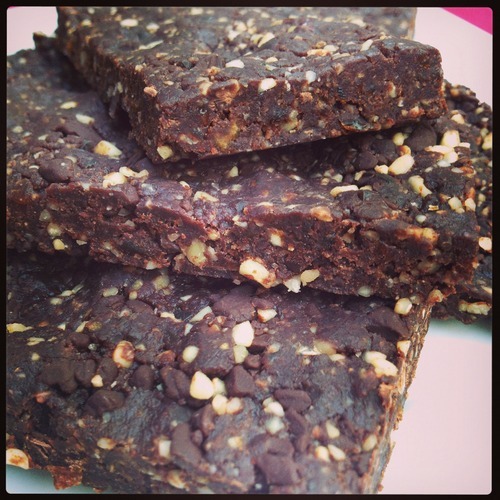
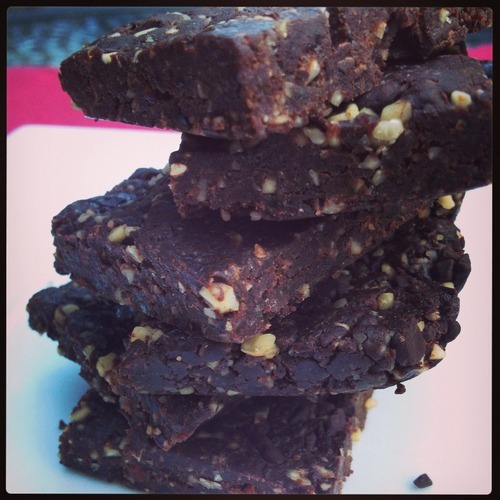
The beauty of this little bar is that it’s only 5 ingredients, no bake, and you only need a food processor and a small slice tray. How easy is that? And the best thing is that they actually taste like a chocolate nut brownie! They also freeze really well, and can be eaten straight from the freezer without needing to be defrosted! Bonus!
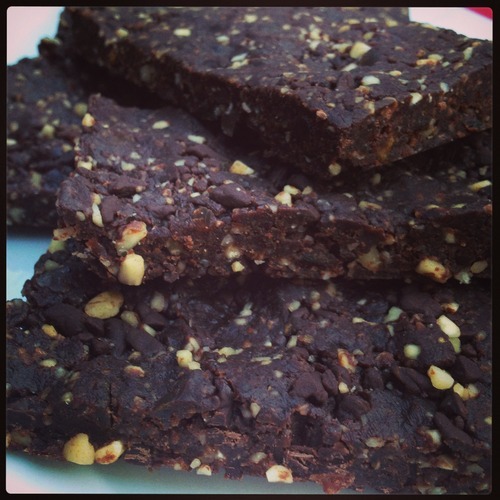
The main ingredient of these bars is dates. Before you go “ewwww” on me, trust me you can’t taste them. Remember my anti-love for all fruits of the dried variety? If I could taste them I wouldn’t be eating them. It’s just yummy choco goodness. I bet even the kids wouldn’t be able to tell! Also, I’ve written in the recipe that you can use cocoa or cacao powder, it’s really up to you. True, cacao powder has all the nutrients that cocoa doesn’t, but don’t be too worried if you can’t get your hands on it, the dates and nuts still make it pretty healthy. I made these with cocoa, my cacao is still in the mail! With the dates, I used pre-pitted bagged dates, but you can buy whole dates and pit them yourself. If you find your fruit is a bit tough, just pop the dates in a bowl and cover them with some warm water for 5-10 minutes, then drain.
Since making these, I’m no longer going to be buying muesli bars. Not when I can make them as quickly and as easily as these energy bars! And this is one convenience food that I don’t mind Miss G eating either.
Chocolate Nut Brownie Energy Bar
Yields: 12 bars (depending on pan size)
Time: 10 min Preparation, 1 hr Refrigeration
- ½ cup blanched or raw almonds
- ½ cup walnuts
- 1 cup pitted dates
- 1 cup dark chocolate chips or melts
- ¼ cup cacao or cocoa powder
Add all the ingredients in a food processor and pulse about 30-45 seconds, or more if needed. The date and nut mixture should stick together, pinch it with your fingers to test.
Line a small slice tray with baking paper or plastic wrap, then pour the mixture into the pan, fold the other half of the wrap over the mix and press it down firmly into the tray, making sure it gets into the corners and is nice and flat.
Place the bars in the fridge for about an hour and then cut into pieces. After cutting, wrap individual bars in plastic wrap or put them in a container in the freezer to help retain their shape.
Notes: I use a 27cm x 18cm slice tray for my bars, which make them a bit thinner than the originals. If you’d like a thicker bar, use a smaller tin. Alternatively, you could make these into little energy rum balls!
Adapted from Budget101.com

